Recently, I started getting a little bored with the guest room and decided to give it a budget-friendly facelift. Originally I gave myself $100 to spend for the makeover but since a new bedding set was necessary, I doubled it to $200. I shifted the furniture around, purchased new decor and was able to wow my best friend when she visited. Since she had stayed in this room before, she was shocked with how small changes can make such a big difference!
Ever since moving to this home in California, I’ve welcomed and hosted many friends and family. I always receive flattering compliments about the guest room and I credit that to working in the hospitality business for so long! I know what makes a comfortable, welcoming room and what to add for an extra oomph. Here’s a few tips that I swear by in order to create the perfect space for your guest, as well as real life before and after pictures of my guest room! Enjoy!
TIPS:
- Amenities & Necessities –Think hotel amenities that you’d be glad they had. A toothbrush, soap, shampoo & conditioner, lotion, cotton swabs and balls, etc. If you want to up the wow factor, add a few luxurious face masks, earphones, headband, make-up remover pads and more. Additional tip: if you shop at Sephora or Ulta a lot, you have tons of samples – add those to the amenity basket!
- Personalization –I know making your guest room personal can be tricky but think about your guest for a second. Do you have a photo with them? A light-box or felt letter board where you can write a welcome. Perhaps you know their favorite snack or drink that you can place in their room prior to arrival. Whether it’s a hotel or at someone’s house, it makes the biggest difference when there’s a touch of personalization.
- Comfort – Your guest room will most likely be comfortable already but adding just a bit of cozy never hurts! Grab a super soft blanket (if you’re in the U.S, HomeGoods or Target have the best blankets for a great price!) and drape it over the bed. Add a candle they can light (don’t forget matches!). This is personal preference but I think fairy lights add the most comfy vibe to a room.
- Entertainment – While I prefer bedrooms not to have televisions (please, no hating :D), I do think as a host, you need to provide some sort of entertainment. I always have wireless speakers for if they want to listen to music, and a shelf full of books and magazines that they can read before bed.
- Work Space –Even if your guests are coming for leisure, it’s always good to have some sort of work space for them. When I travel, I bring my laptop with me most of the time and I’m so grateful when a hotel or guest room has a desk I can work from. I love a simple desk (mine is from IKEA) that doubles as a work space and a vanity. Don’t forget to add pens, a notepad and plenty of lightning cables.
- Lighting – There’s something comforting about a bedside lamp when I tuck myself into bed. A main light is of course important; a bright light makes things easier to find, easier to focus on work, etc. But make sure you add another light source that’s smaller, like a bedside lamp and/or fairy lights.
- Black Out Curtains – I didn’t even know what a black out curtain was until I worked in Border Patrol and had 12AM-9AM shifts. Trying to sleep during daytime is really difficult but the black out curtains saved me! Another fun fact, when airlines are contracting with hotels, they almost always require their rooms to have black out curtains for their crew. My point is, black out curtains can help your guests sleep well and that’s the most important part of keeping them comfortable.
About My Guest Room:
Room Size: Approximately 110 square feet.
Bed Size:Queen Sized Bed
$200 Spent On:
- Bedding (HomeGoods)
- Curtains (Amazon)
- Gold Wall Shelf (Target)
- Faux Plants (HomeGoods)
- White Furry Rug (Amazon)
- Light Box (Amazon)
- Floor Lamp w/ Reading Lamp (Target)
- Fairy Lights (Target)
While it may not look like a drastic change through photos, in person, it’s quite a difference. I really had to get over the fact that the desk was going to double as a bedside table but I ended up loving it. I’m so thrilled to have a tiny but comfy reading nook with the softest rug ($15.99!!!) and a floor lamp with a reading lamp. What’s not pictured are 2 mirrors I already owned. I moved the full length mirror behind the door and hung a smaller mirror on the wall right as you enter the room.
I’m really happy with it! Let me know what you think in the comments!
|| BEFORE ||
 |
| BEFORE: One side of the guest room. Bed was pushed against the wall. Cluttered look with the cubes & photo rack. |
 |
| BEFORE: Art instead of a headboard. |
 |
| BEFORE: Originally liked this spacious layout but started feeling cluttered between the cube & photo rack. |
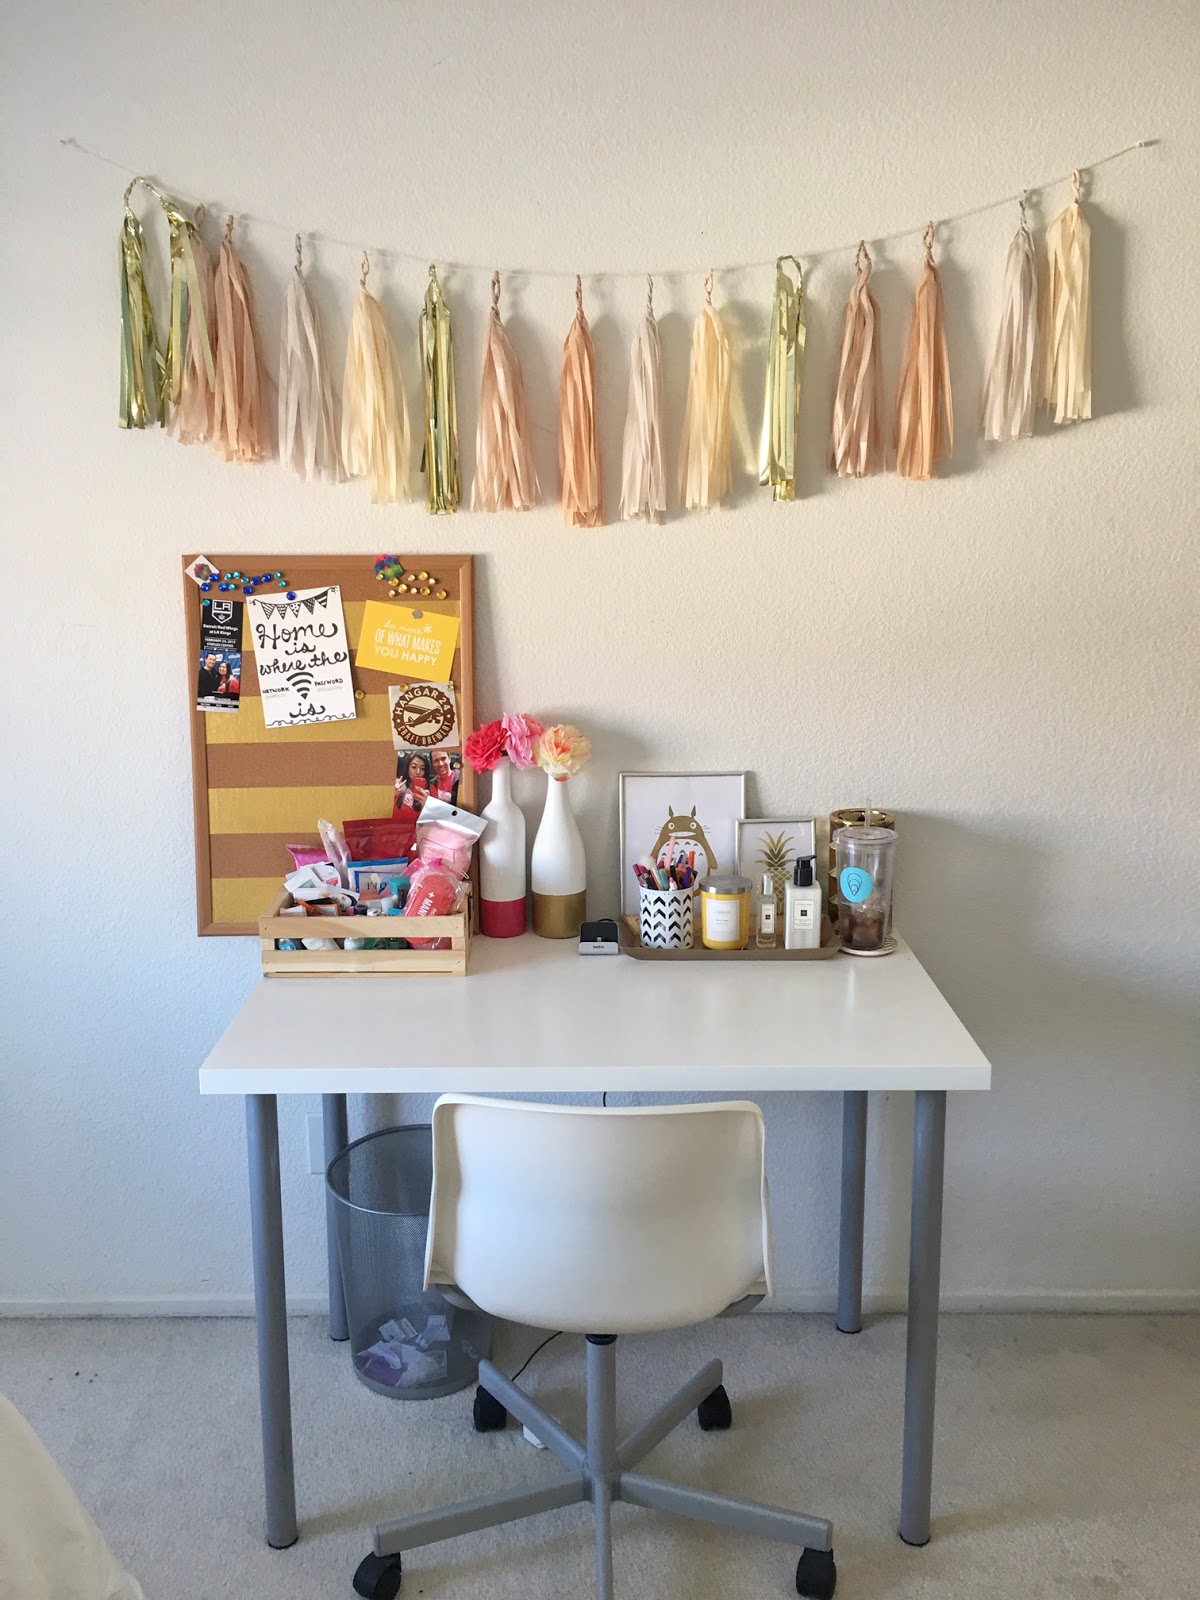 |
| BEFORE: The center of the opposite side. A small desk, decor & a then-popular tassel garland. |
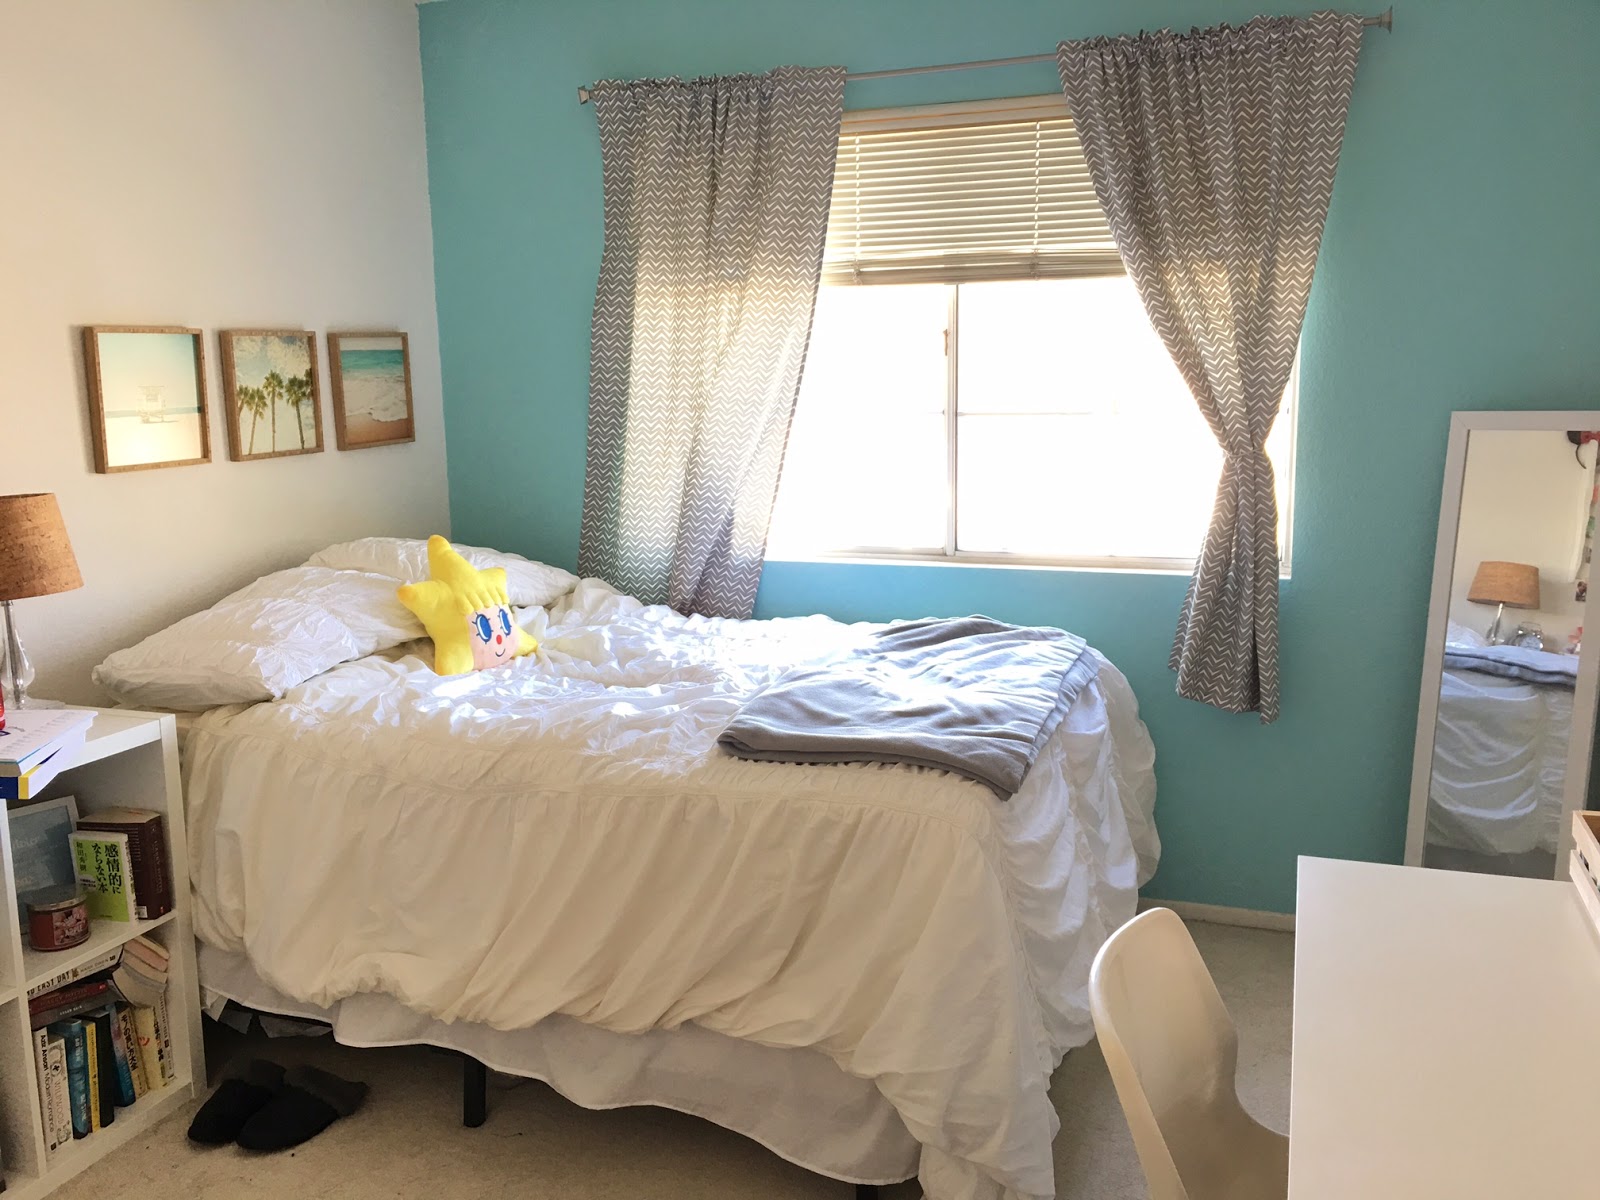 |
| BEFORE: Biggest pet peeve -> curtains stuck between bed & wall! Really stiff, absorbs heat and light, not crazy about the chevron print. |
|| AFTER ||
 |
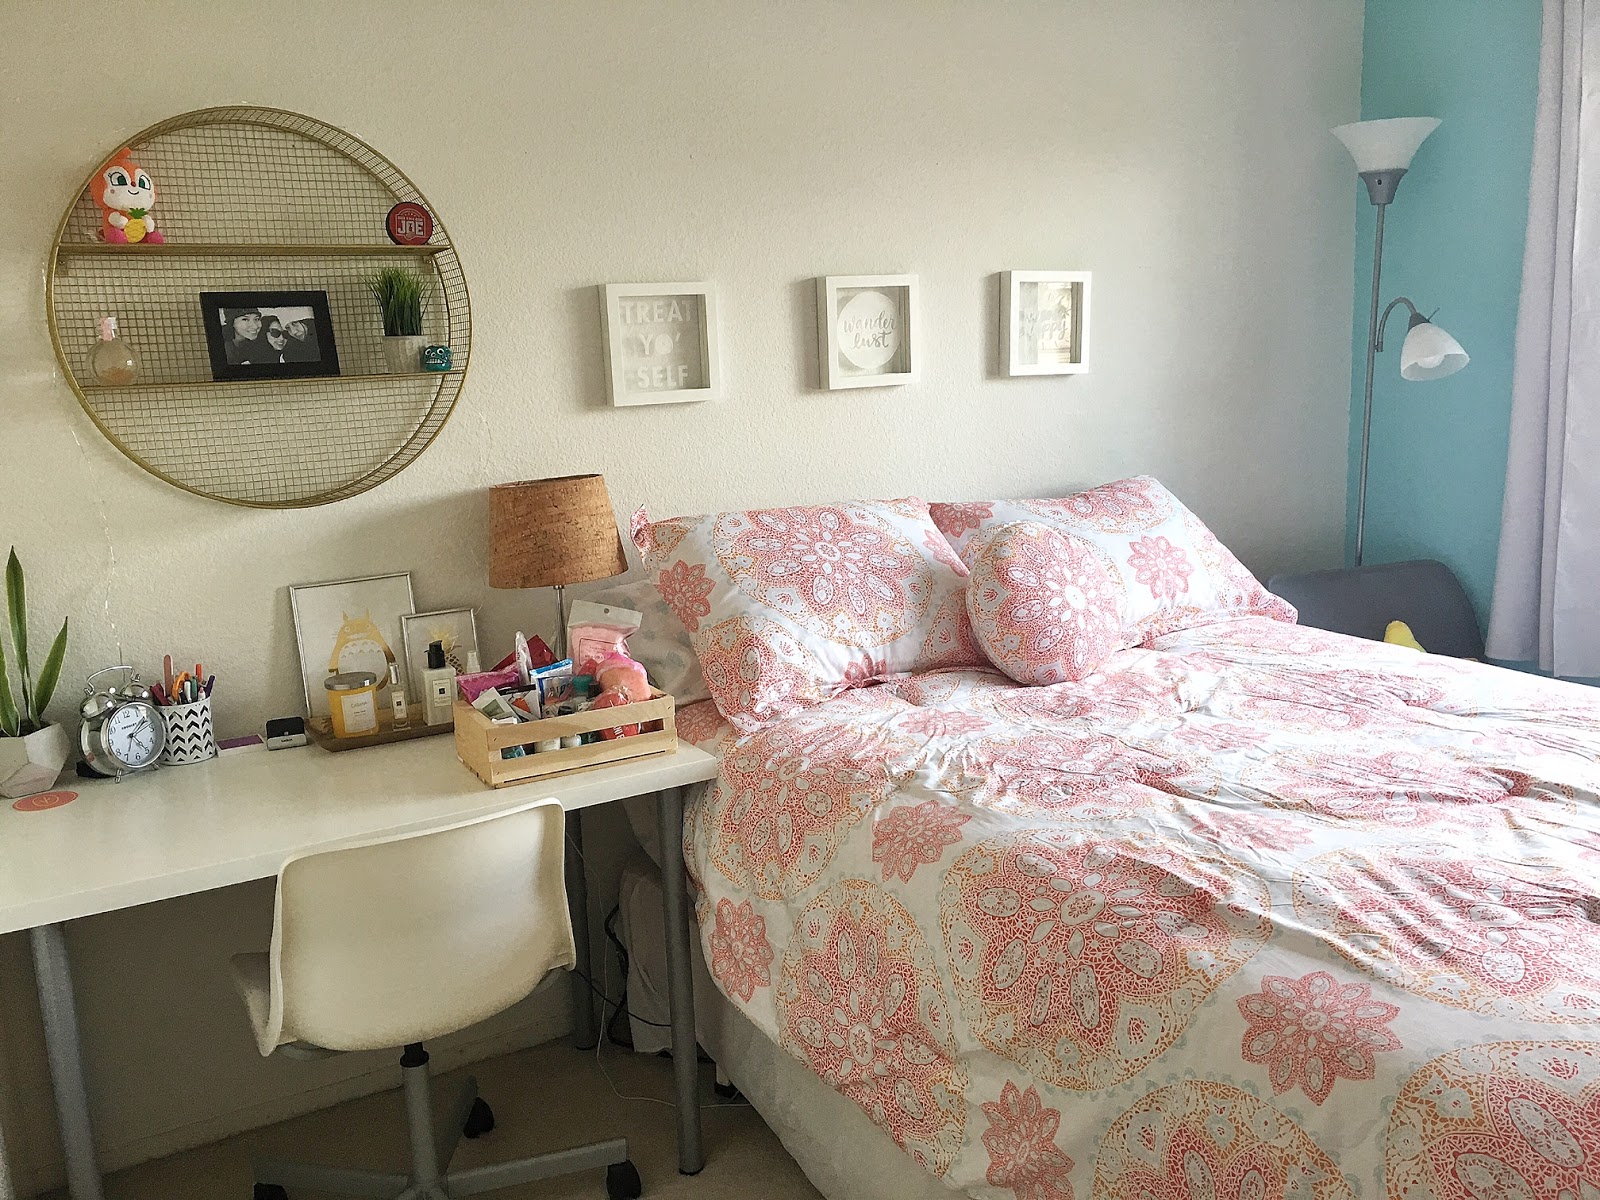
| AFTER: The bed shifted to the middle, creating spaces on both sides. On the left, I created this desk area and added the adorable gold shelf. |
 |
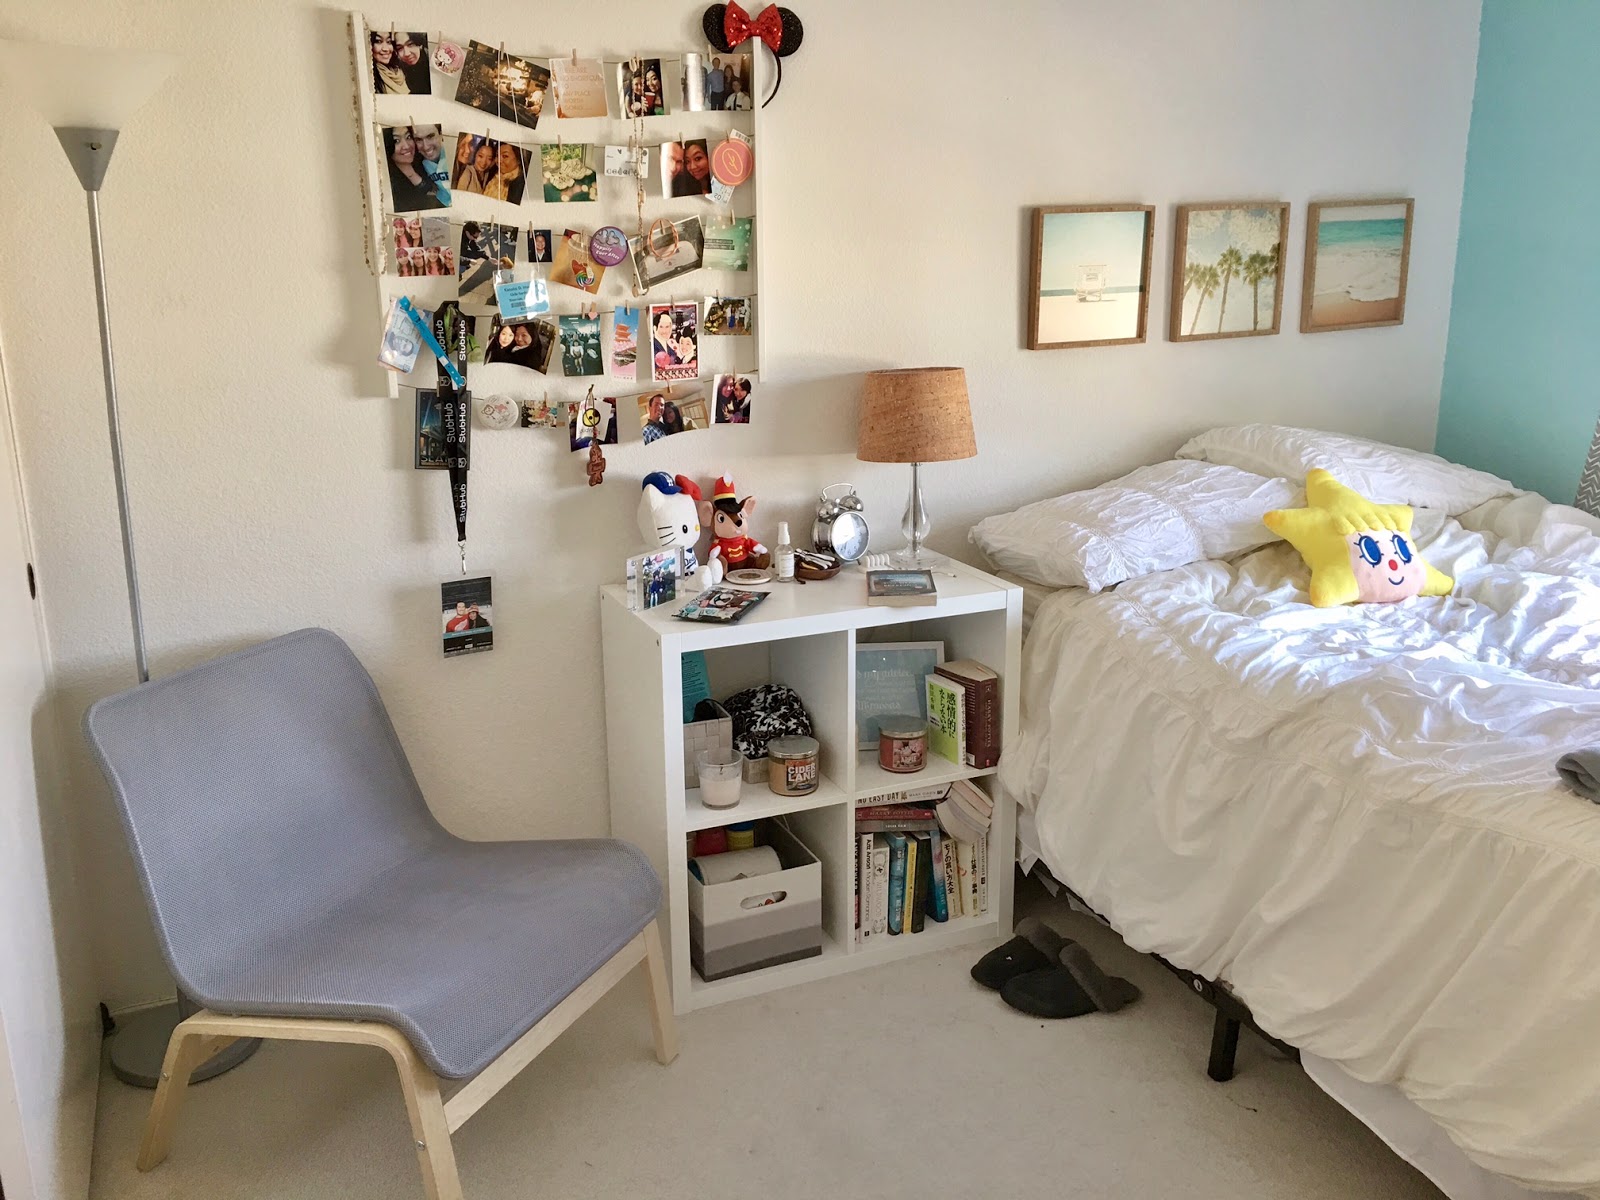
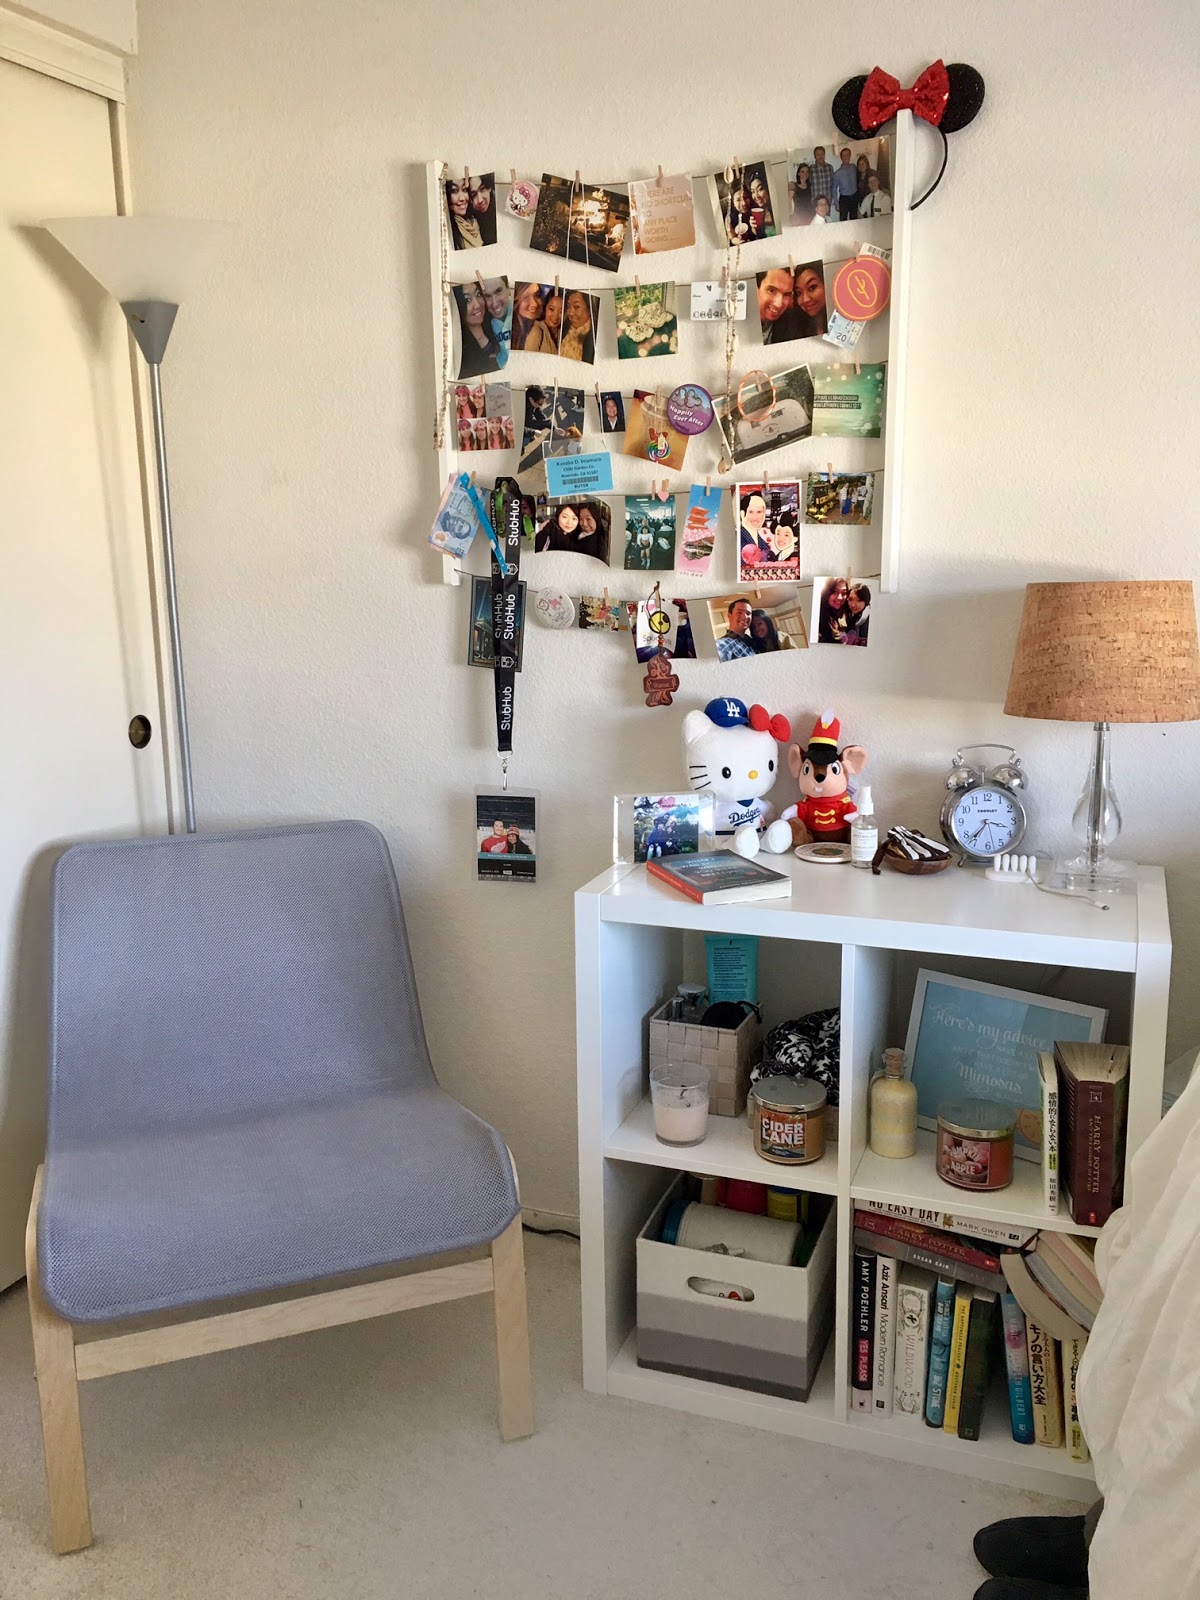
| AFTER: Moved the cube to the corner diagonally under the window. Added a Light Box! Got rid of the photo rack (transported to the Game Room). |
 |
| AFTER: On the other side of the bed, I made a comfy reading nook. Added a new lamp with a reading lamp and a fluffy rug. |
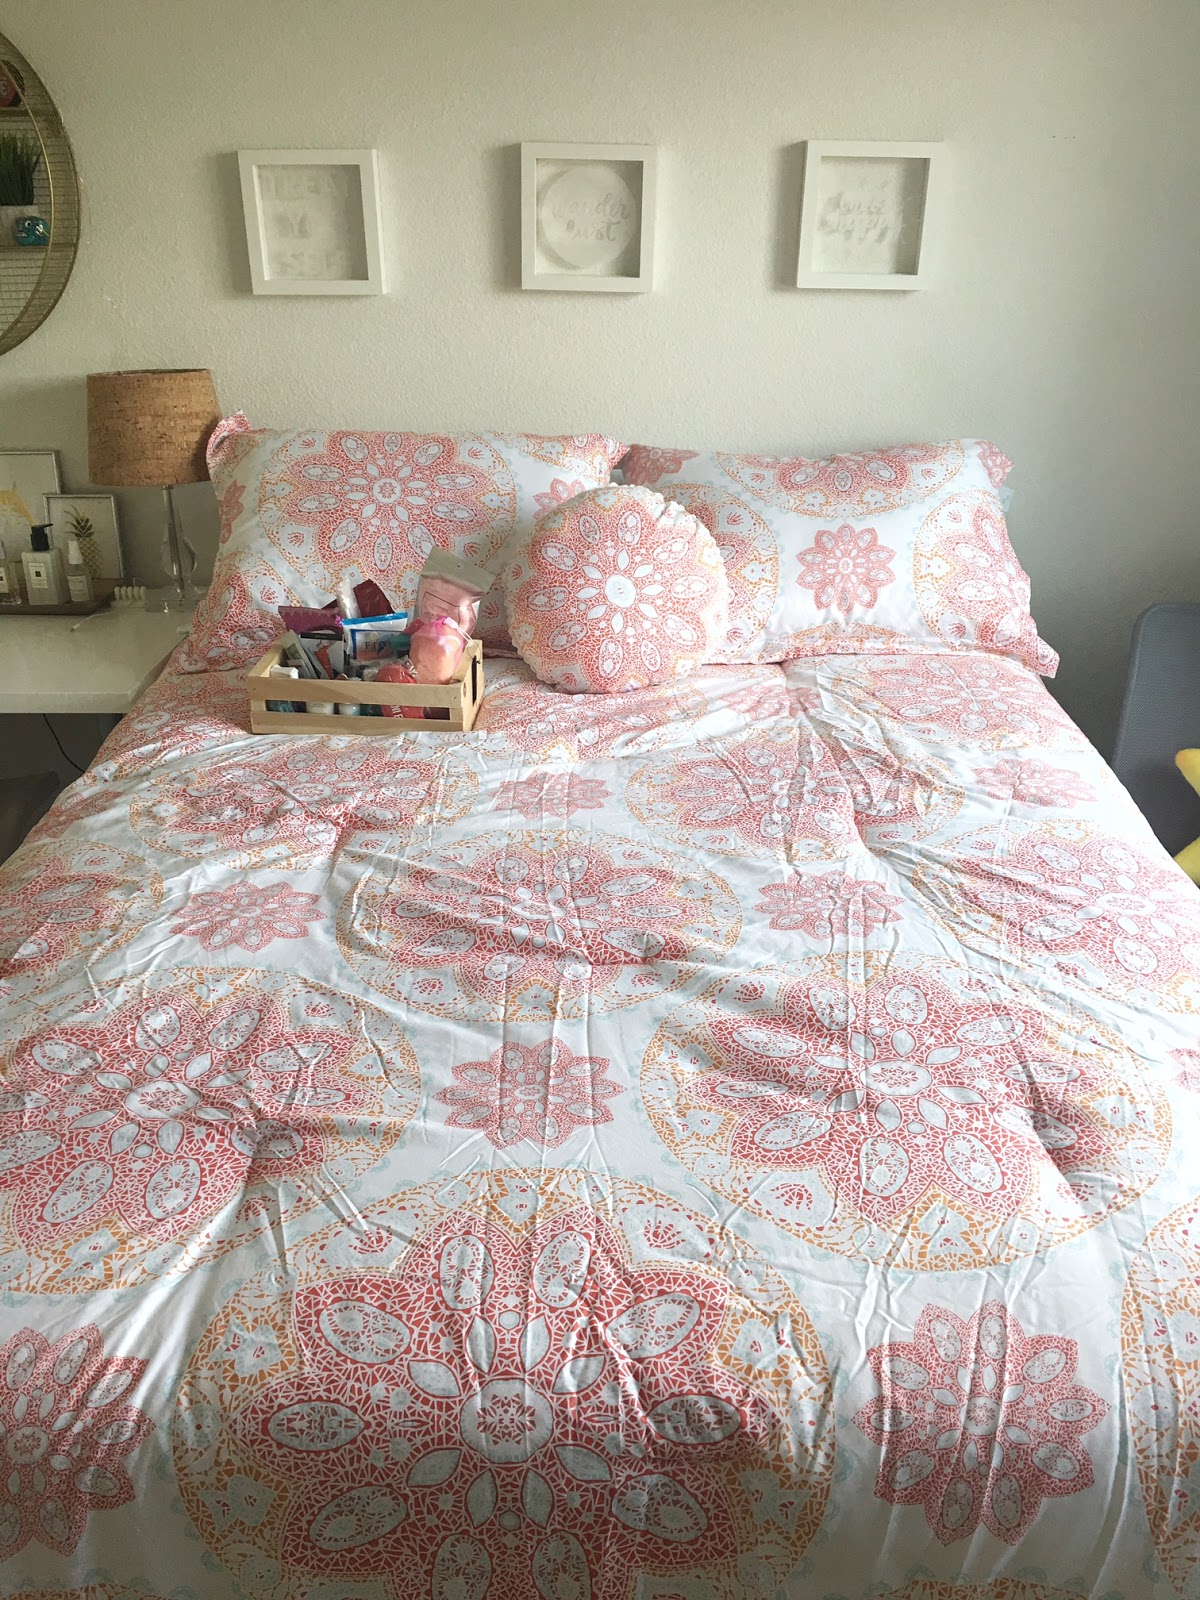 |
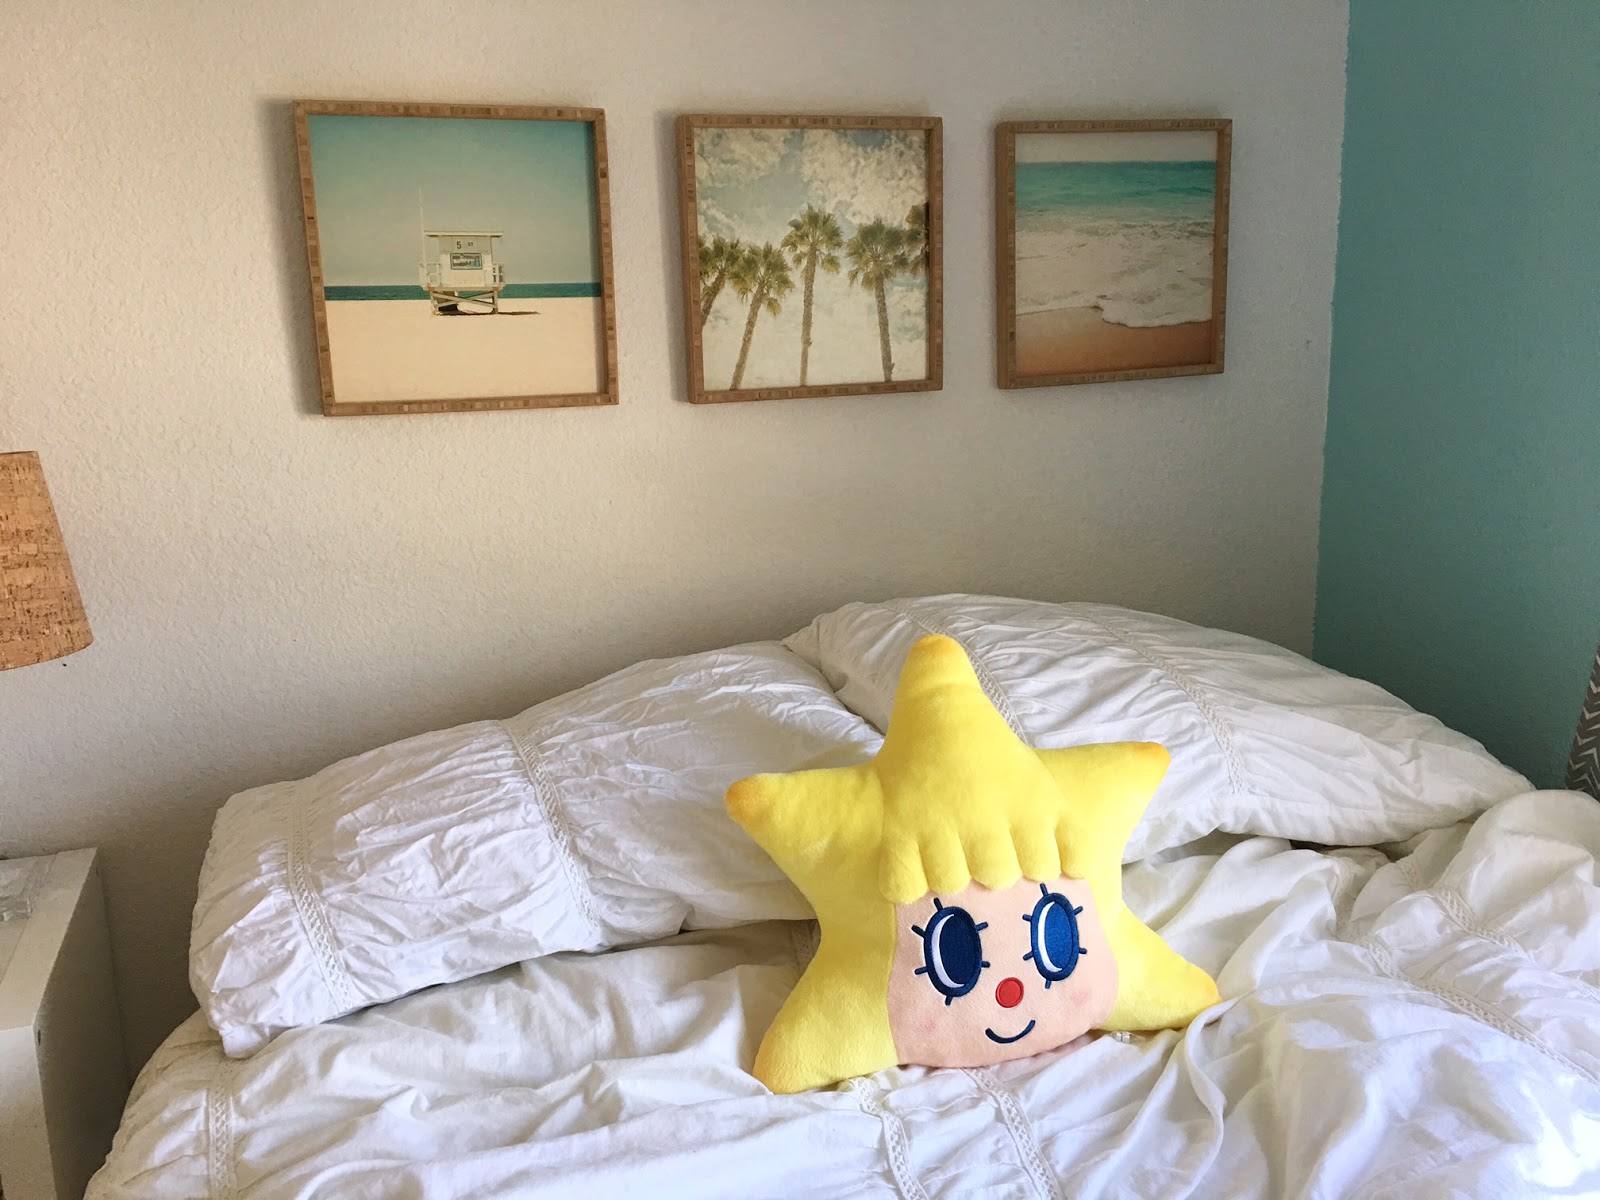
| AFTER: Got brighter, more colorful bedding. Added the white yet statement light boxes above. |
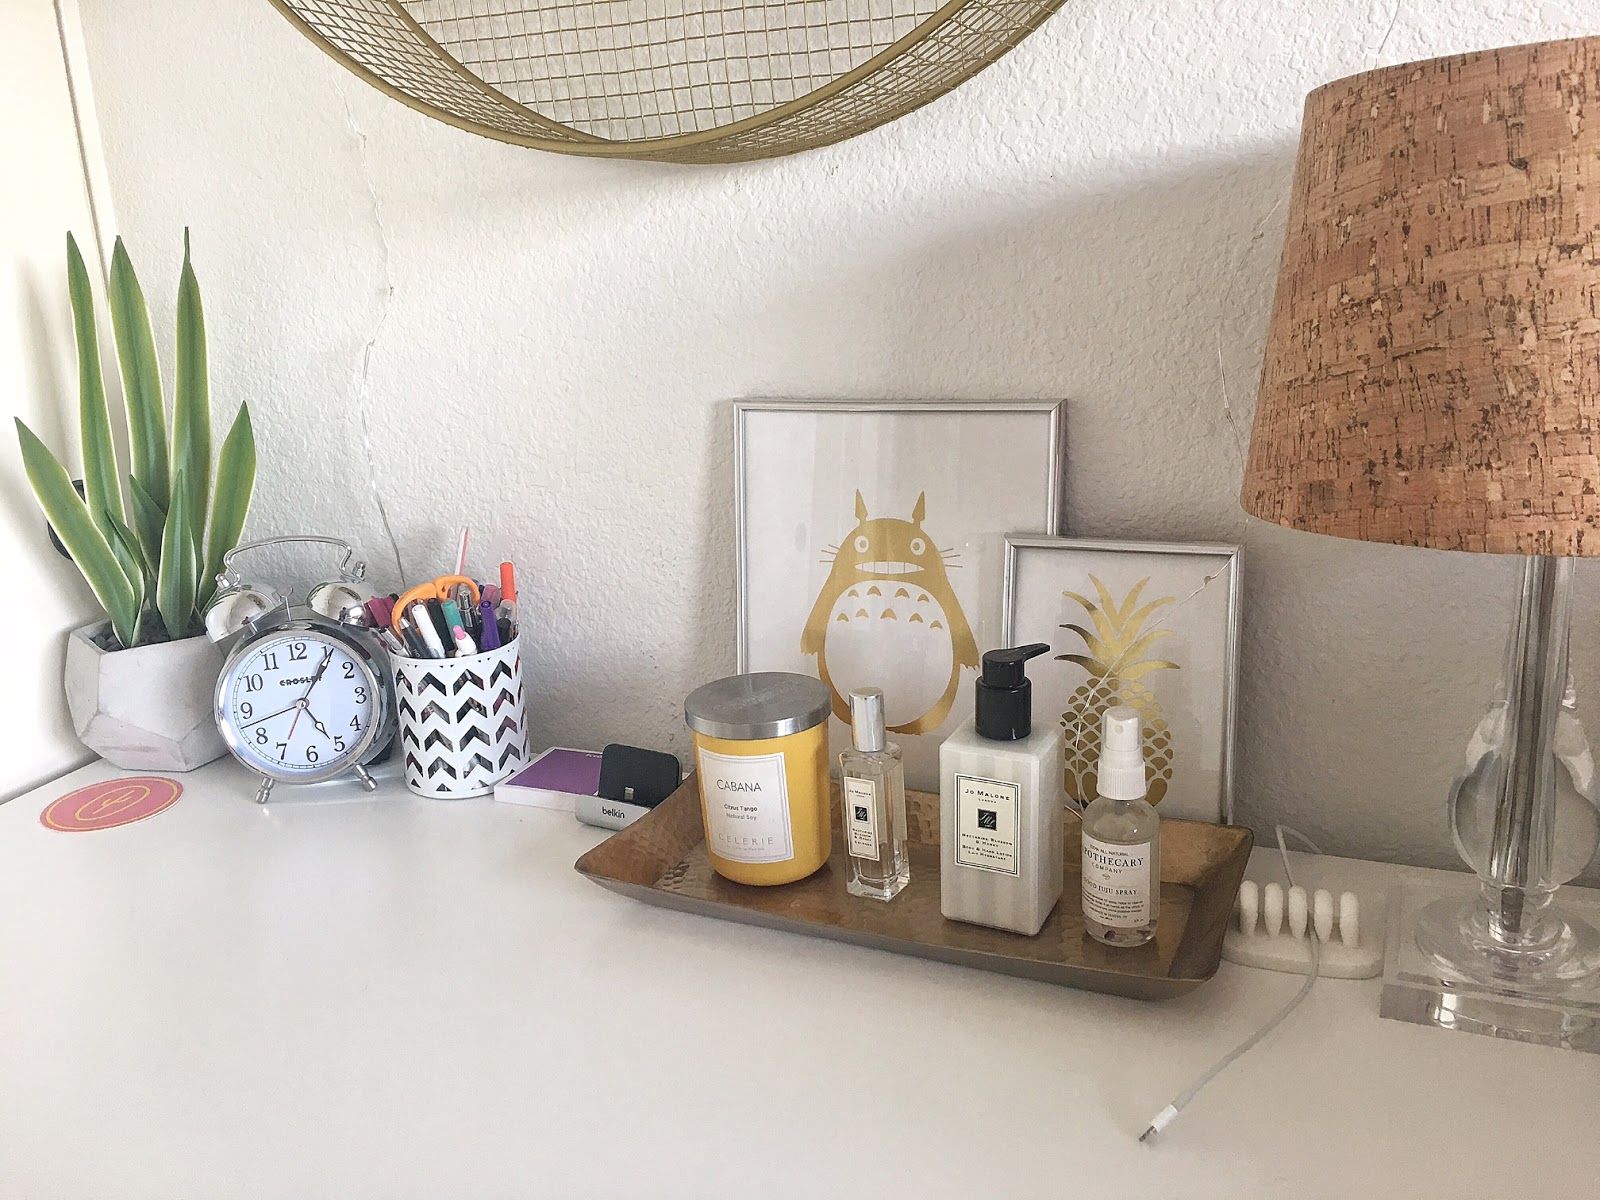 |
| AFTER: Added some faux plants, 2 chargers and other necessities. |
 |
| AFTER: Kept this amenity box full of things that guests may forget. Toothpaste, soap, shampoo, nail kit, lotion, face masks, etc. |
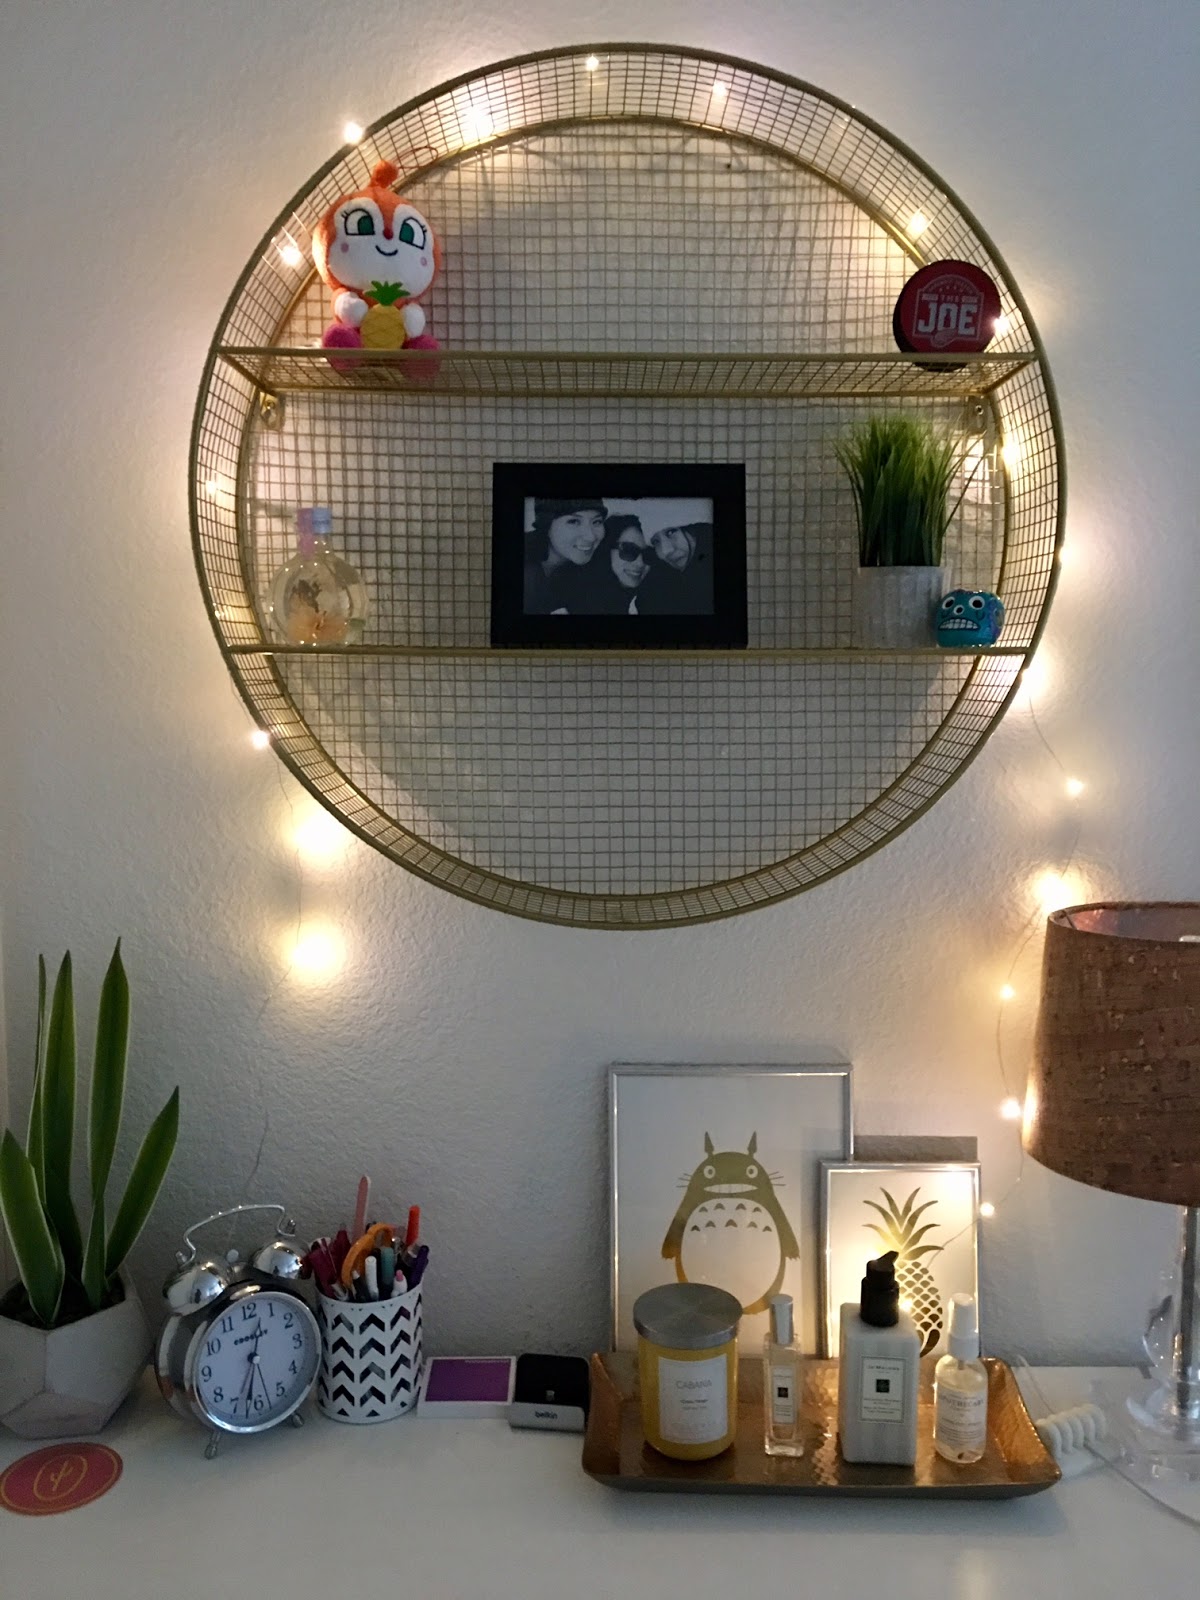 |
| AFTER: Added fairy lights for a comfortable vibe. Also put a photo frame of the guest, another friend and me. |
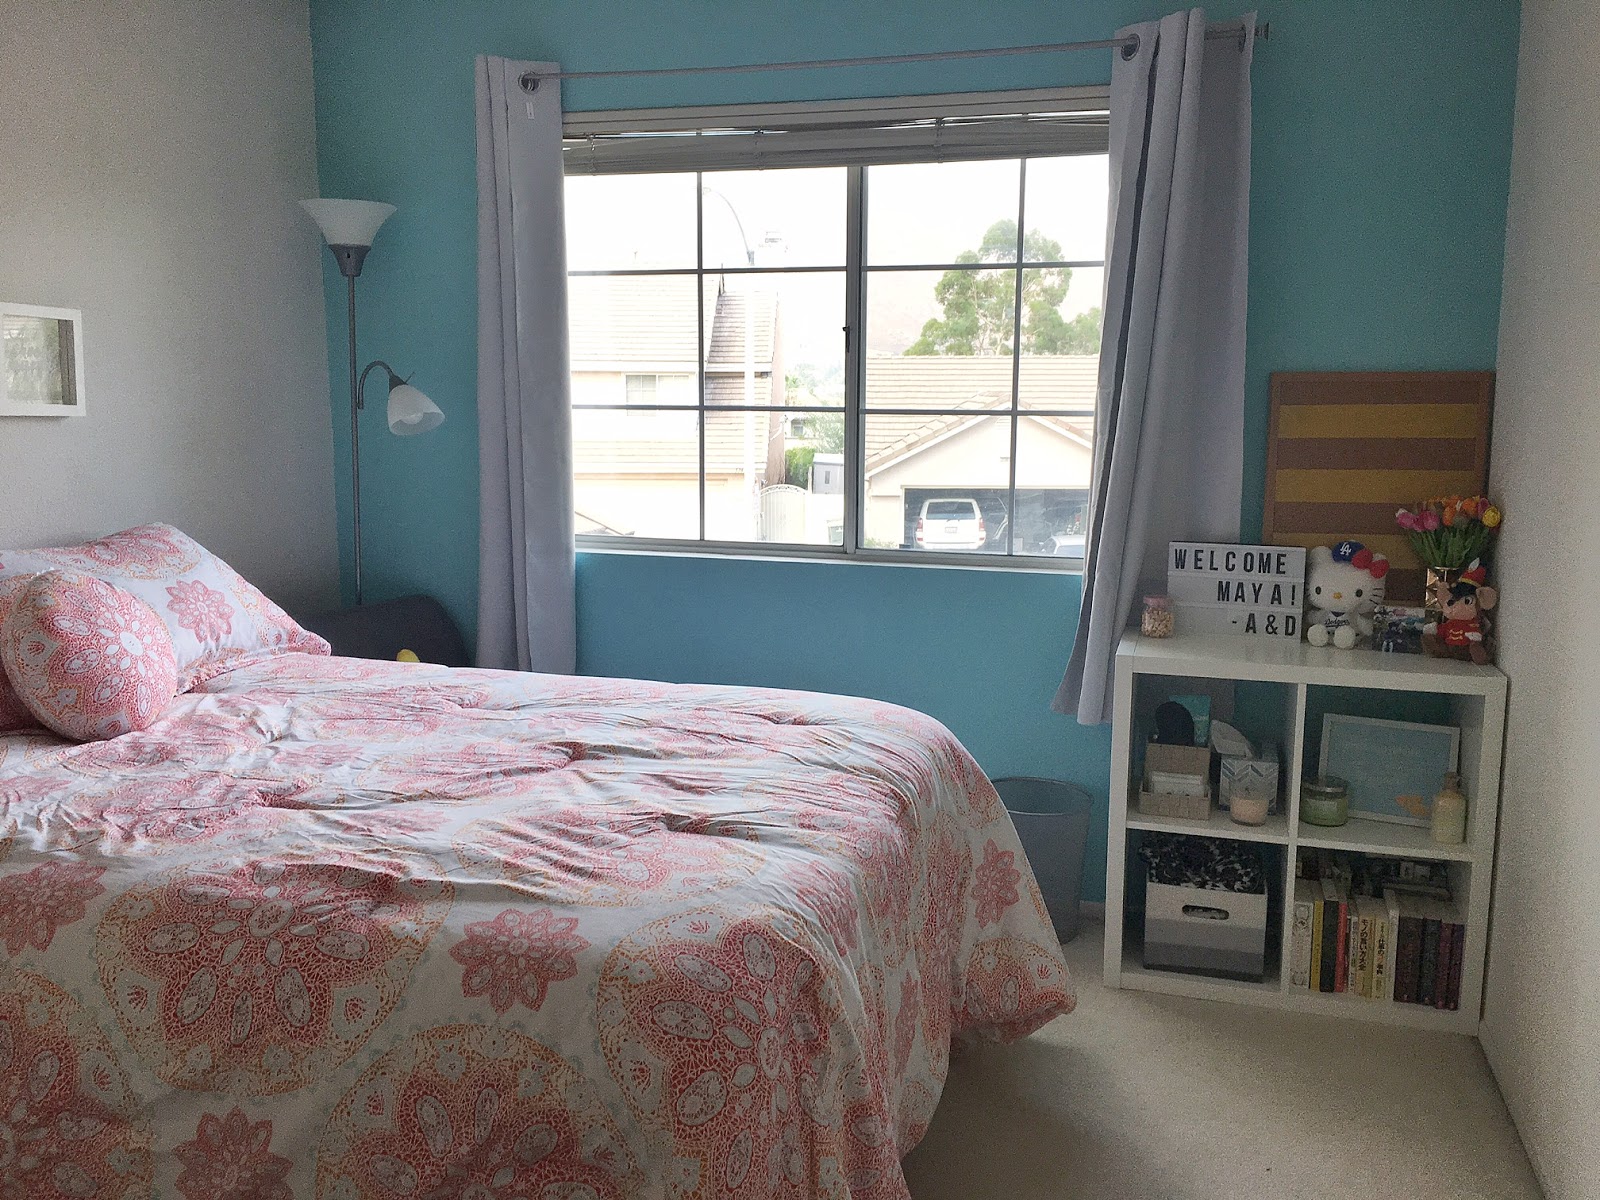 |
| AFTER: Got rid of the curtains and got black-out curtains with huge rings for the rod. Goodbye stiffness, heat and light! |
♡♡♡
What do you think of my makeover for under $200? Do you have a guest room that you put a lot of time into? Any other tips you can share?
Love it? Pin it!


Your room is Pinterest goals! It really does look a lot different. Thanks for sharing tips!
Aww thank you so much Kirstie! I really like how it turned out too 🙂 Thanks for stopping by! xo